Car interior photos: how to shoot them, and what to do about the view through the windows
Outside, you can move the car somewhere clean. Inside, you can't: there's glass on three sides, and through it you see the lot, the cars parked next to it and whoever walks by. Here's which interior shots to take, how to get them on a phone, and what can be fixed after the shoot.
The interior shots you need
- 1The dashboard with the mileage. Start the engine so the odometer lights up and the warning lights go out. Shoot from the back seat behind the driver, or from the driver's seat.
- 2The front seats through the open driver's door: seats, steering wheel, center console.
- 3The back seats through an open rear door. If the seatbacks fold, add a shot with them folded.
- 4The center console and screen, close up: the shifter, the infotainment screen, the climate controls.
- 5The headliner or panoramic roof, if the car has one. Shoot upward from the back seat.
- 6Wear, close up: scuffs on the steering wheel and the driver's seat, stains on the upholstery. Just like outside, an honest close-up answers the question before the buyer asks it.
The real problem: what shows through the glass
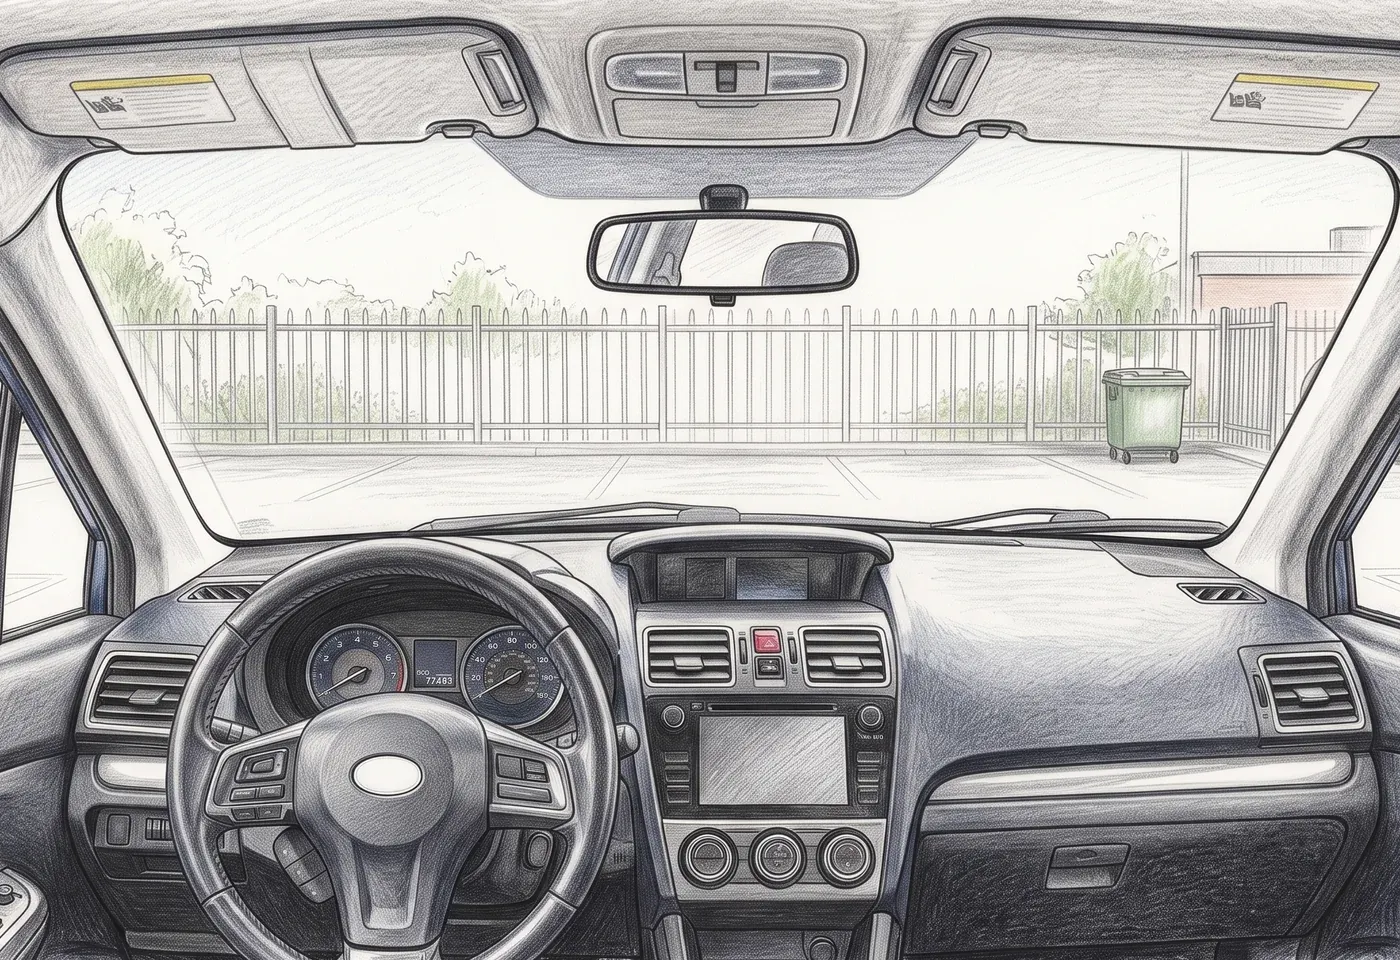
Almost every interior shot has windows in it: the windshield, the side glass, the rear window. Behind them is whatever surrounds the car: asphalt, other cars, a fence, a garage wall, people walking by. Nobody moves the car for every interior shot, and an angle that keeps the windows clear is rare.
Buyers look at the interior, but their eye still catches the busy scene in the windows. It stands out most when the exterior shots show the car in a clean studio and the interior shots still show the parking lot. One more detail: interior shots are taken tilted down. If the new background is fitted as if the photo were level, the windshield shows the ceiling and its lights, so we set the background to the tilt of the camera.
How to shoot the interior on a phone
- Clear everything outPaperwork, cables, phone mounts, air fresheners, keys, loose change in the cubbies. Shake out the mats or take them out. The interior stays in the photo exactly as you shot it.
- Set everything straightSteering wheel straight, front seats level with each other, headrests at the same height, seat belts buckled or tucked away instead of hanging in loops.
- Soft, even lightPark in the shade or shoot on an overcast day. Direct sun puts bright patches and hard shadows on the seats, and the windows come out far brighter than the cabin.
- Expose for the cabinTap a seat or the dashboard on your phone's screen, not the window. Expose for the window and the cabin goes dark and loses its detail. Leave auto HDR on.
- Use the main 1x lensThe 0.5x ultrawide fits more in, but it stretches whatever is closest and tilts vertical lines. Switch to it only if the shot won't fit otherwise, and hold the phone level.
- Keep the screen privateDisconnect your phone from the car and close your contacts, recent destinations and messages. Leave the home screen up, or switch the screen off.
- Check for reflectionsYou or your phone can show up in the screen, the glossy trim and the glass. Shift a little to one side.
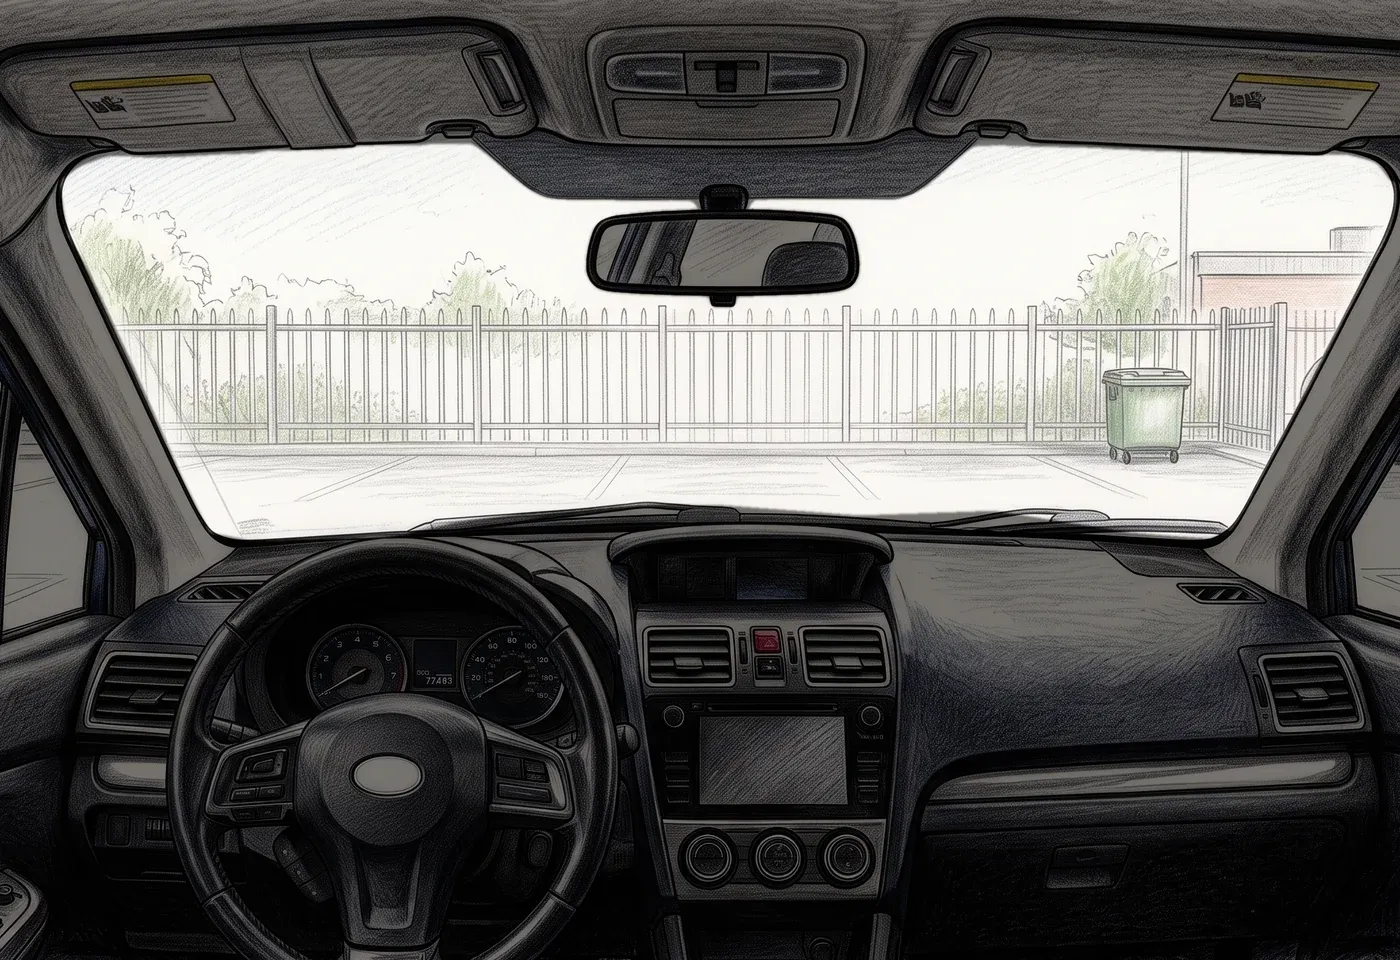
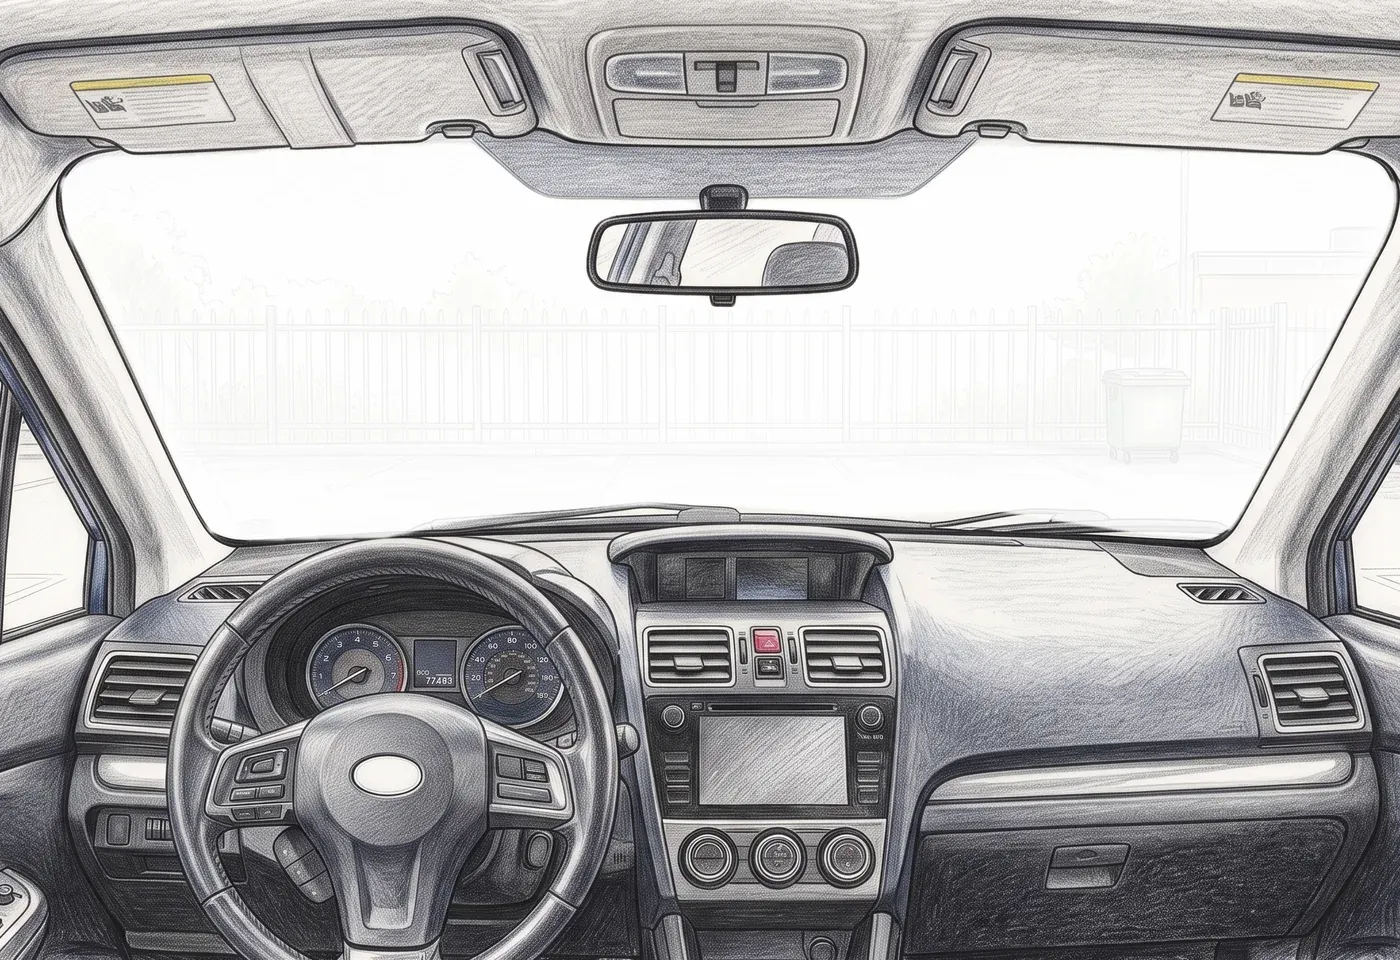
Left: exposure set on the window. The view outside is fine, but the cabin goes dark. Right: set on a seat. The windows come out lighter, but you can see the interior.
What we change, and what stays as shot
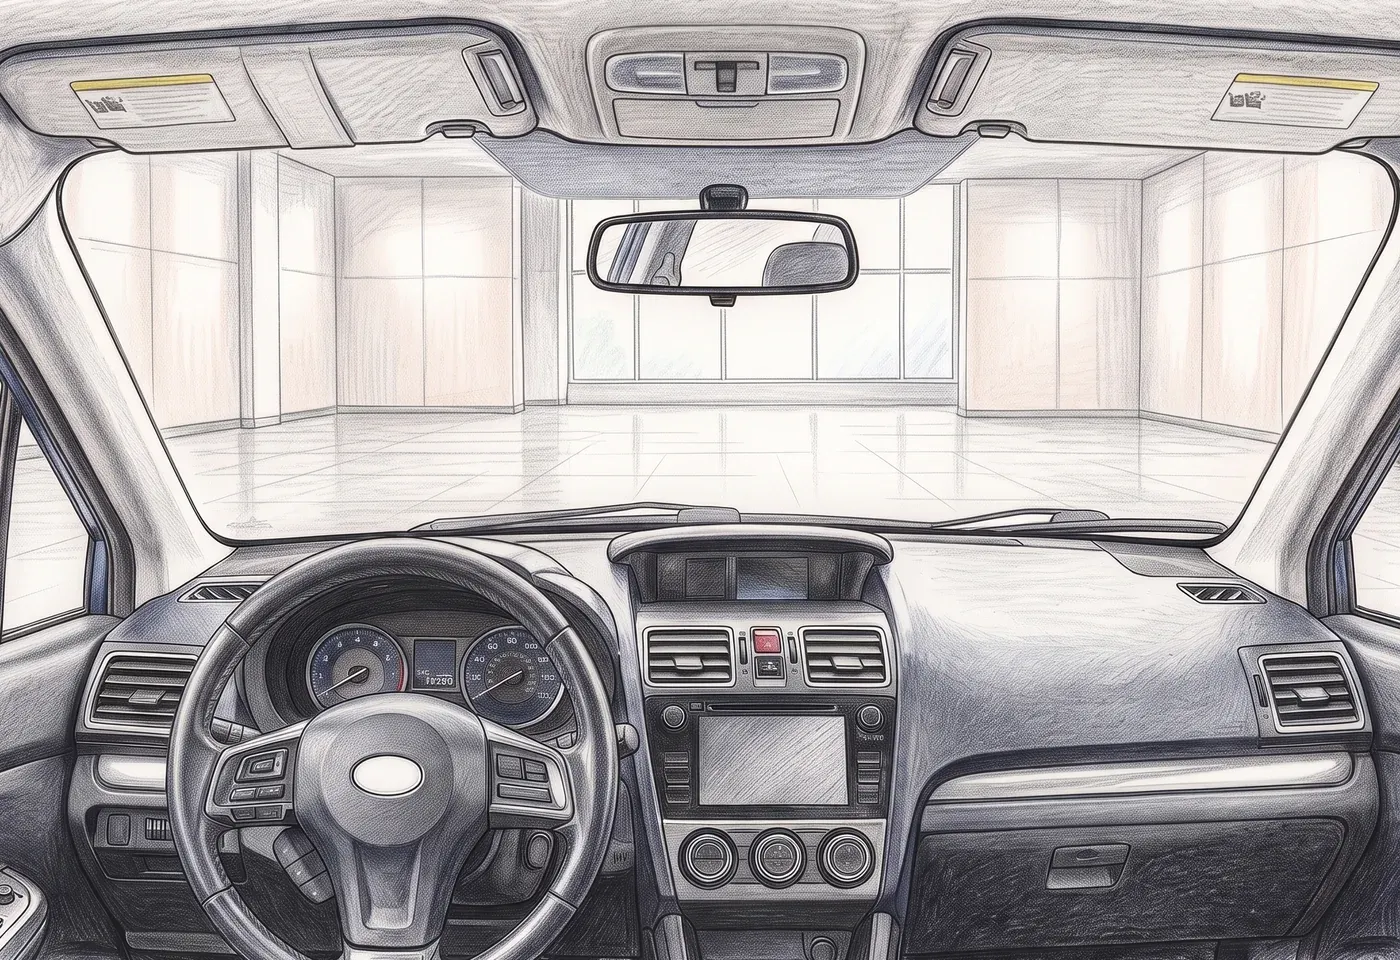
| We change | Stays as shot |
|---|---|
| The view through the windows. The lot, other cars, the fence and people behind the glass go with the old background. | Seats and upholstery |
| What replaces it: a studio, a showroom, or your own background, such as a branded scene. | Scuffs and stains |
| The angle of the view. You change the tilt, turn, horizon and field of view yourself and save it for the photo, the batch or all batches. This works with backgrounds from our library. | The steering wheel, dashboard and screen |
| Anything left in the car | |
| Light and glare inside the cabin |
That's why the cabin gets prepped before the shoot, not after.
More on this:Is it legal to edit car listing photos?
Make one car's photos match
A listing looks put together when the photos of one car don't fight each other: the car stands in a showroom outside, and the interior shots show a calm background through the windows instead of the parking lot. Use the same background across your inventory, and every listing looks like part of one showroom.
Where it matters most
- Premium carsBuyers spend longer on the interior: the leather, the trim, the screens. A busy lot in the windows competes with all of it.
- Open-air lotsCars are parked tight, so every window shows the car next door.
- Dealer groups and high volumeDifferent people shoot in different places, and the listings still have to look alike.
In the listing, interior shots go after the exterior ones: the dashboard with the mileage, then the front and back seats and the console. The full order for every shot is in our guide How to take car photos for a listing with just your phone.
Send us your photos. Your first 30 frames are free: a new view through the windows in interior shots, a new background outside, the plate hidden or swapped. We don't redraw the car or its interior.
How it works: the technology