How to take car photos for a listing with just your phone
Most buyers flip through the photos before they read the description. Here's the shot list worth getting on an ordinary phone, and which problems you have to solve on the lot versus after the shoot.
Why it's worth the effort
In a Cox Automotive survey, 90% of car shoppers said they consider photos extremely important in a listing1. Cox's own listing data in the same report showed that a used car with several real photos, instead of a stock image, got 349% more listing views2.
Before you shoot: what can't be fixed later
- Wash the car and clean the glass.Dirt on the paint and streaks on the windows stay in the photo. We don't redraw the car: the make, color and wheels stay exactly as shot.
- Clear out the interiorPaperwork, cables, phone mounts, air fresheners, dirty mats. The interior stays in the photo exactly as you shot it.
- Pick soft light.An overcast day works best, or morning and late afternoon, when the sun is low. A new background won't remove harsh shadows on the paint.
- Check the doors and windowsFor your own reflection and your phone's. Reflections in the paint can stay as shot, or change to match the new background with a full blend, but it's best not to leave yourself in the shot.
- Wipe the lens.One fingerprint makes the whole shot hazy.
- Shoot mostly in landscape.Listings and websites mostly show photos in landscape. Shoot portrait when the job calls for it, for example for Stories or short videos.
Outside: the shot list
Shoot at headlight height, so crouch a little. Take a few steps back and use 2x zoom, not the 0.5x ultrawide: up close, a wide lens stretches whatever is nearest to it. And don't let the frame cut off the car. Leave a little room around it.
- 1Front three-quarter — the lead photo, with the front and the side both in view. Turn the steering wheel so the front wheel shows its rim, not the tread.
- 2Rear three-quarter from the opposite corner.
- 3Side profile, both sides.
- 4Straight front and straight rear.
- 5A wheel close-up: rim and tread.
- 6The trunk, open.
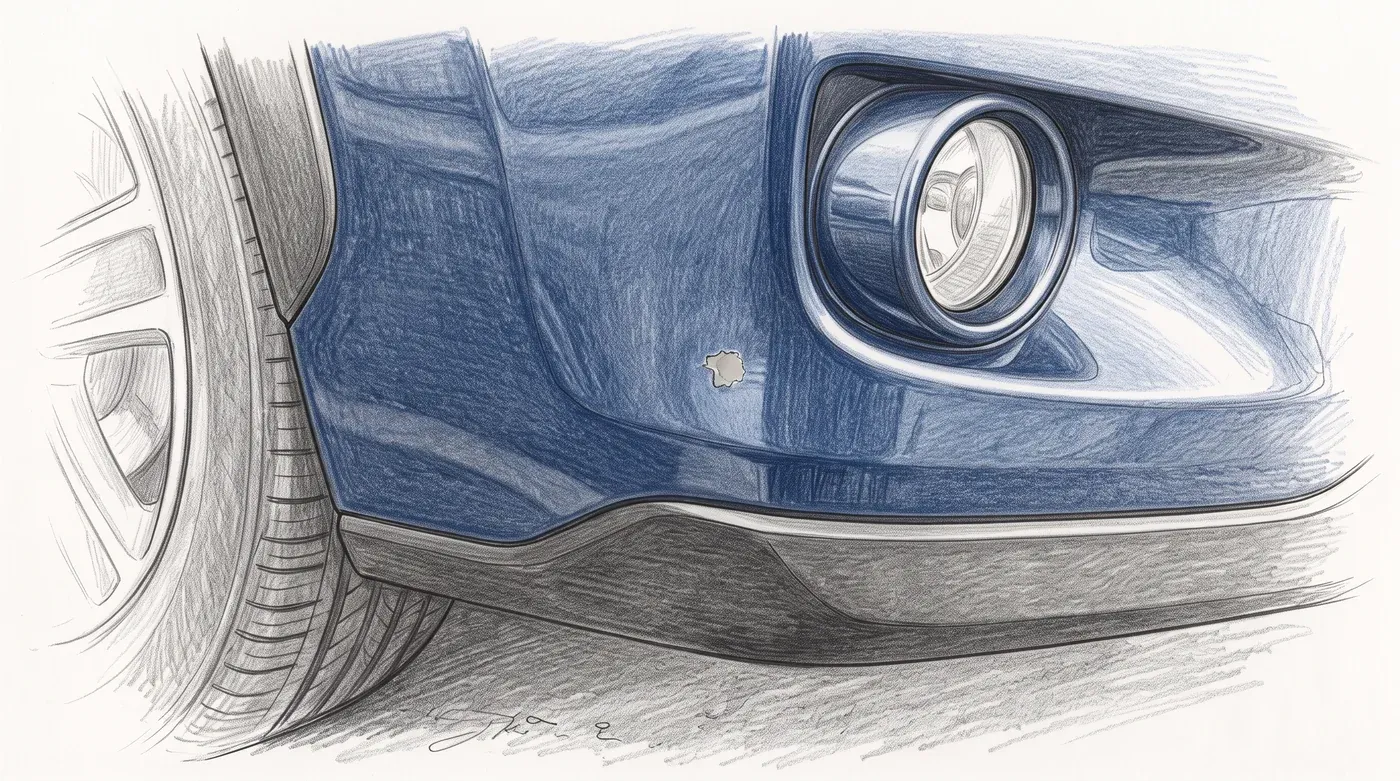
- 7Close-ups of any damage: a chip, a scratch, a dent. A clear shot of a chip answers the question before the buyer asks it.
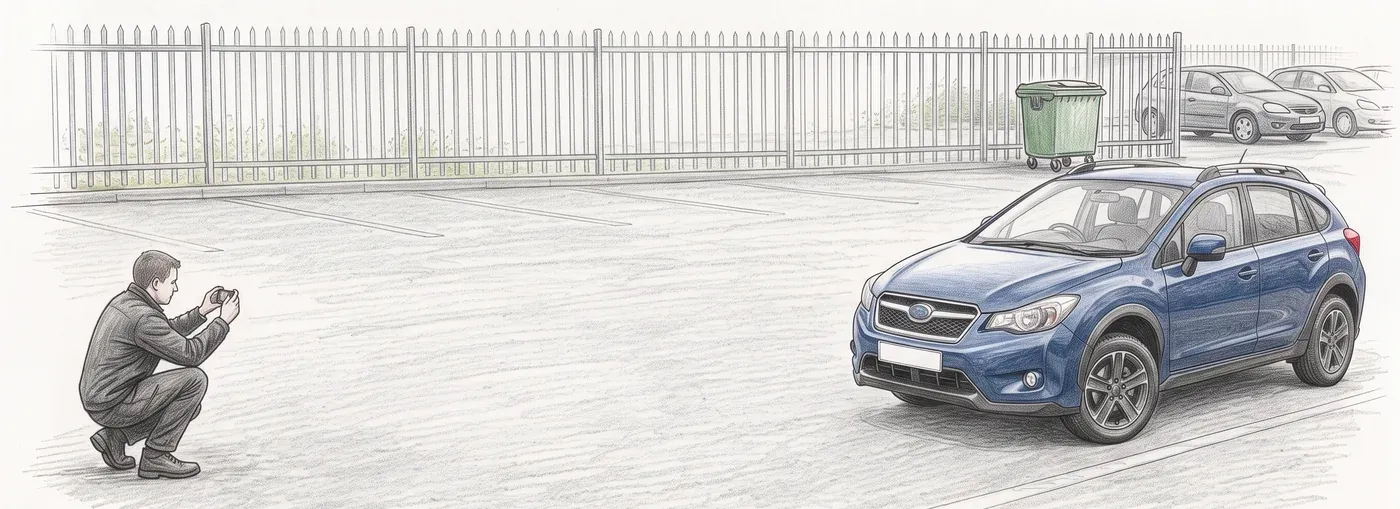
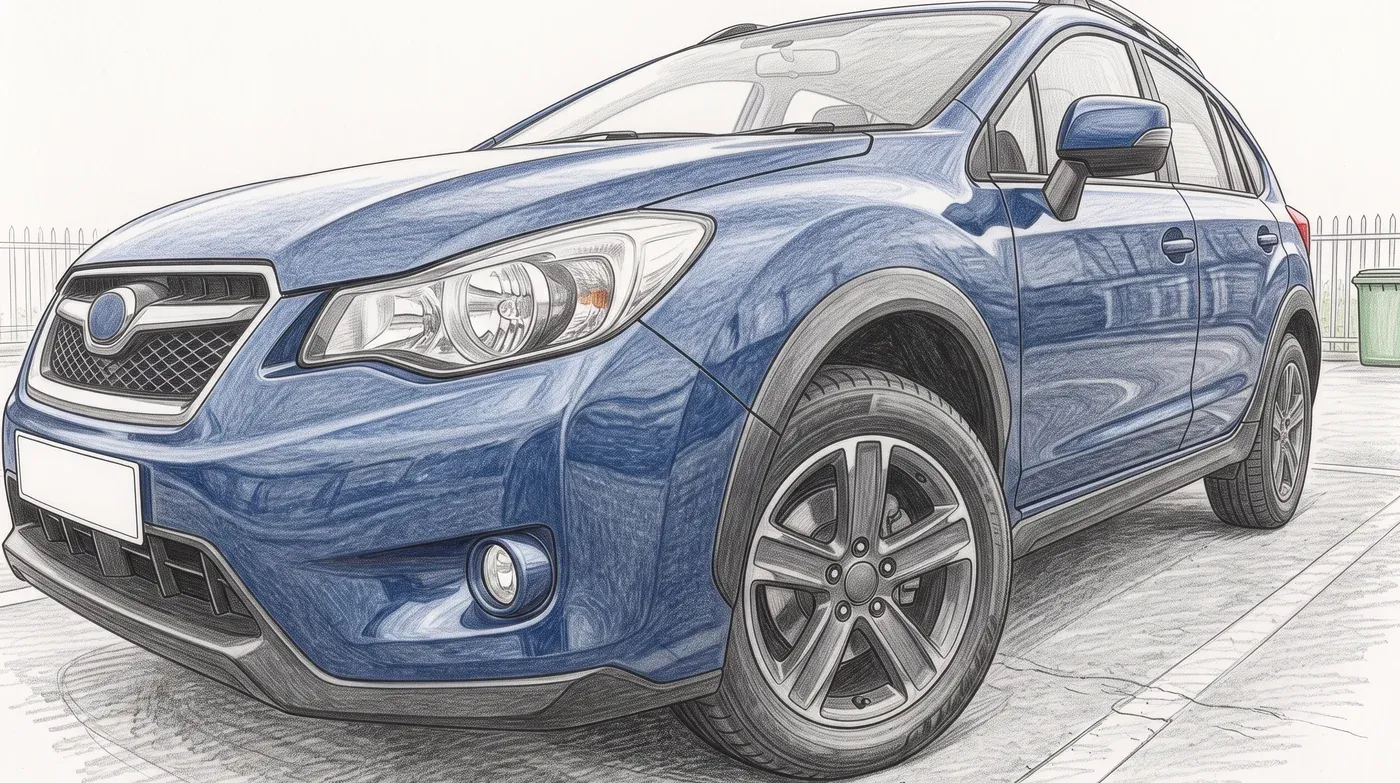
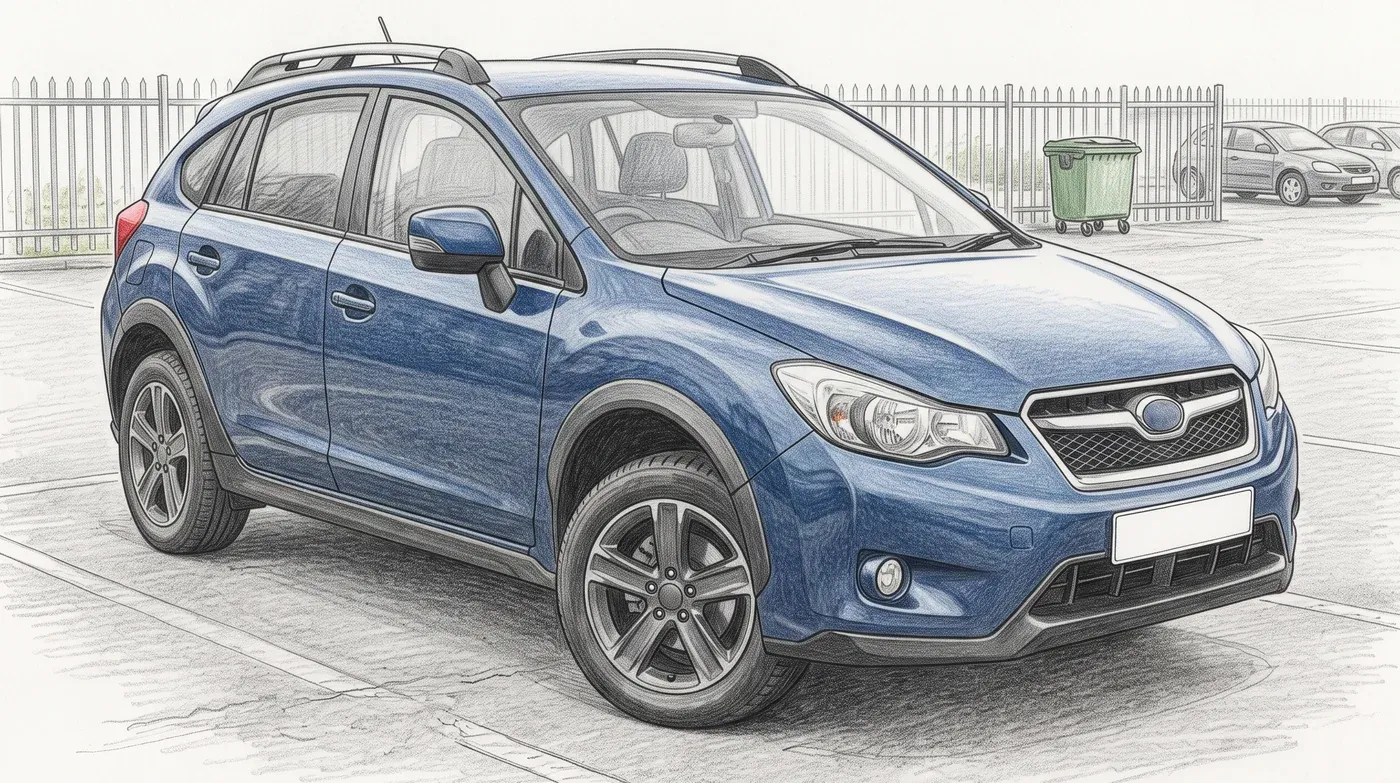
Left: too close on the wide lens, so the front balloons and the edges get cut off. Right: a step back and 2x zoom.
The interior
- 1The dashboard with the mileage. Start the engine so the odometer lights up and the warning lights go out. Shoot from the driver's seat or just behind it.
- 2The front seats through the open driver's door.
- 3The back seats.
Whatever shows through the windows (a parking lot, a wall, the building next door) matters less than you'd think. In interior shots we replace the background behind the glass, and the interior itself stays as shot. You can adjust the angle of the new view later in the dashboard: tilt, turn and horizon.
This is the short version. The full guide:Car interior photos: how to shoot them for a listing
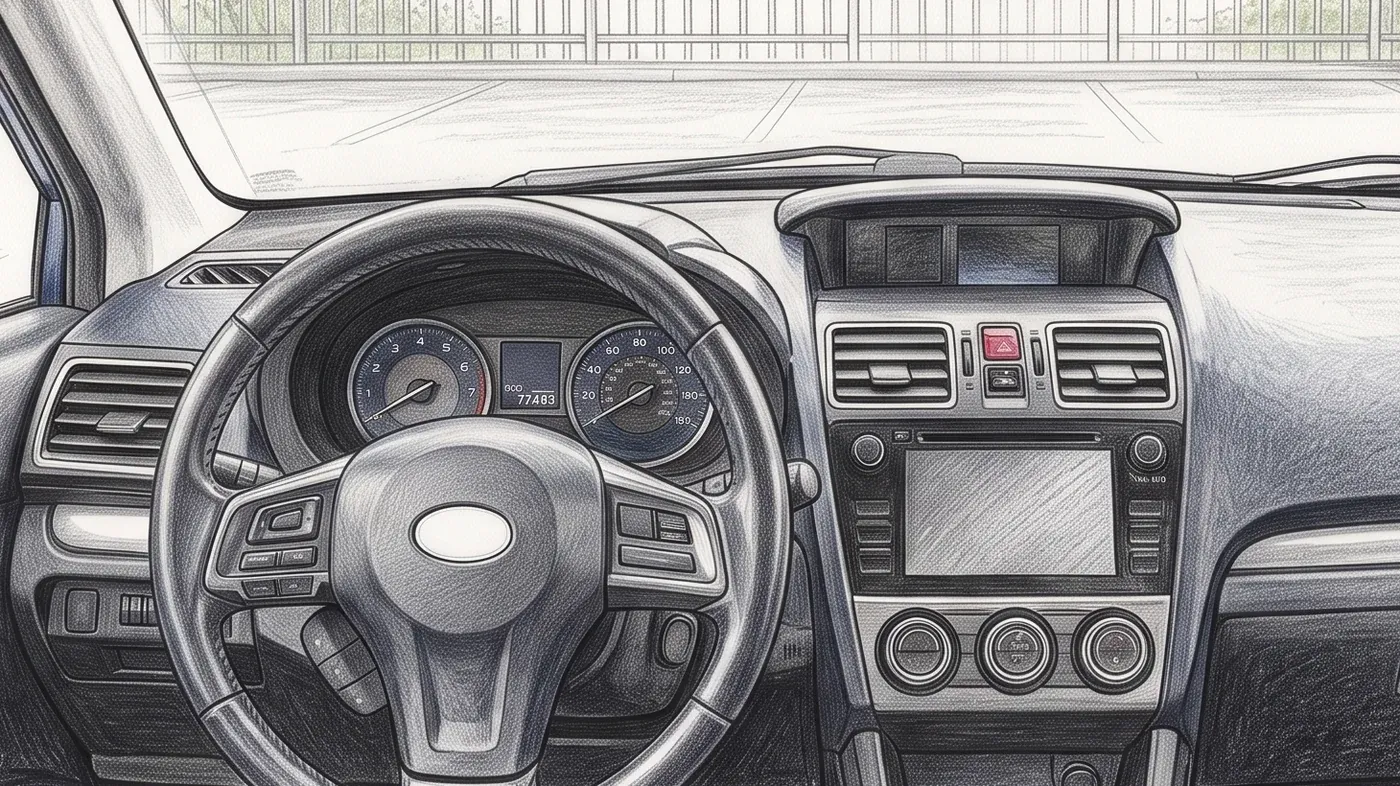
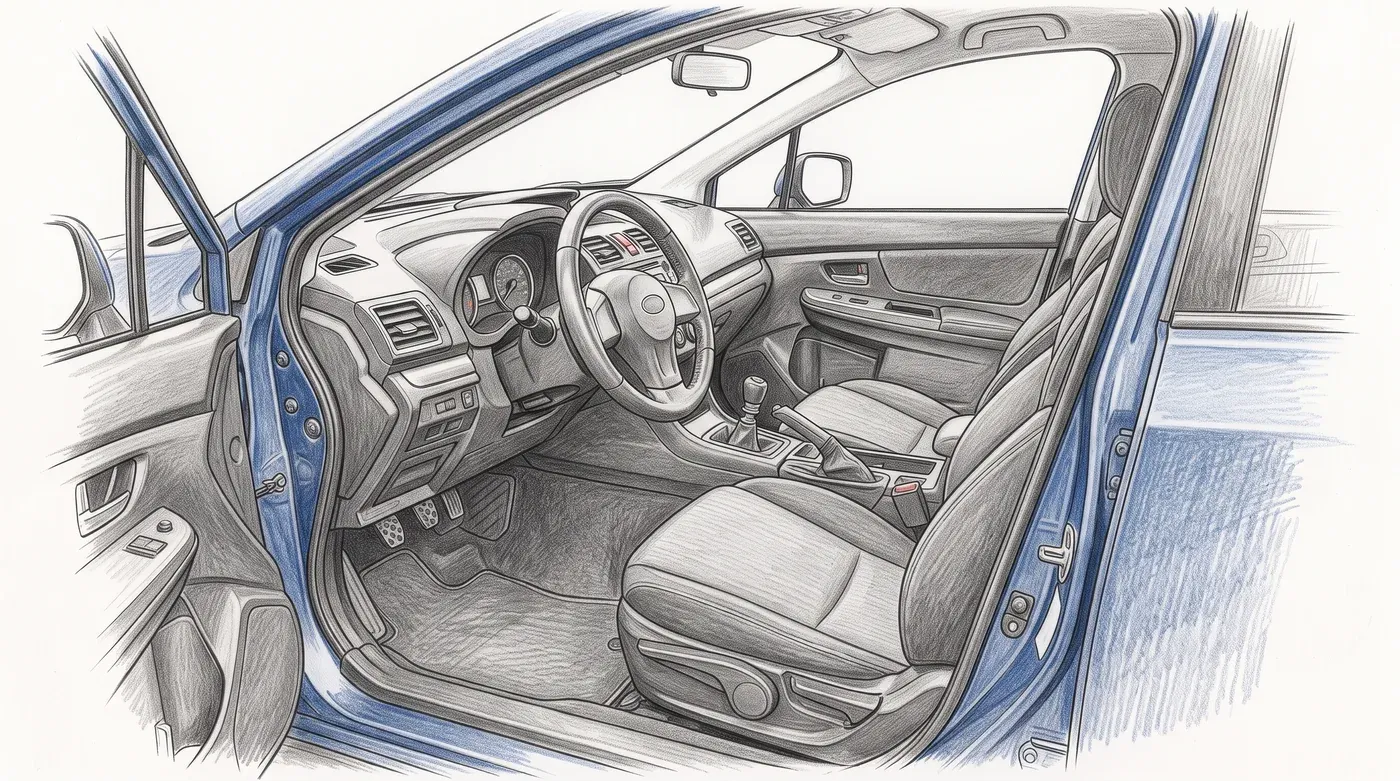
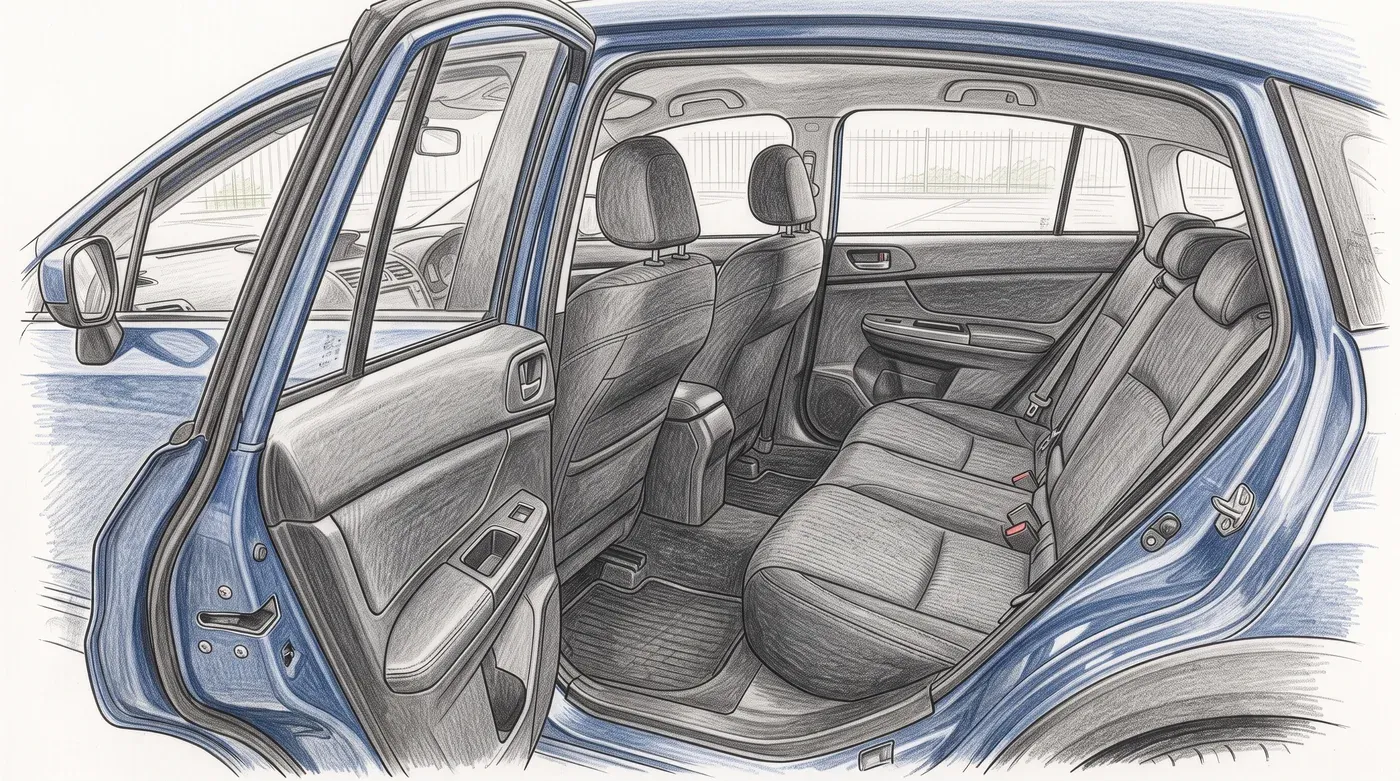
Three interior shots: the dash with the mileage, the front seats, the back seats.
What can be fixed after you shoot
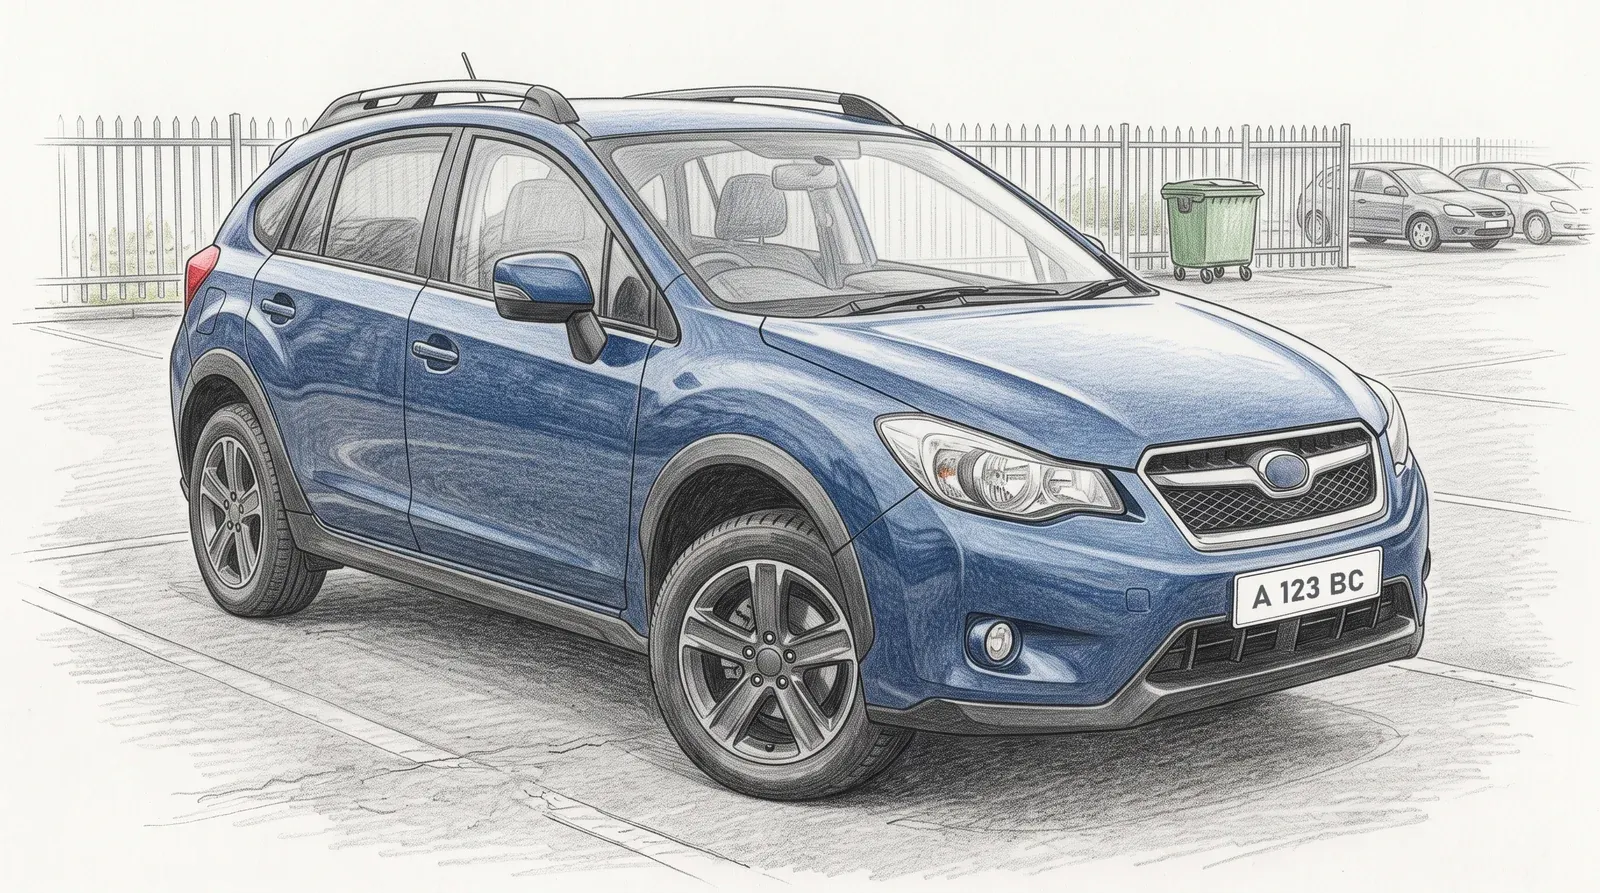
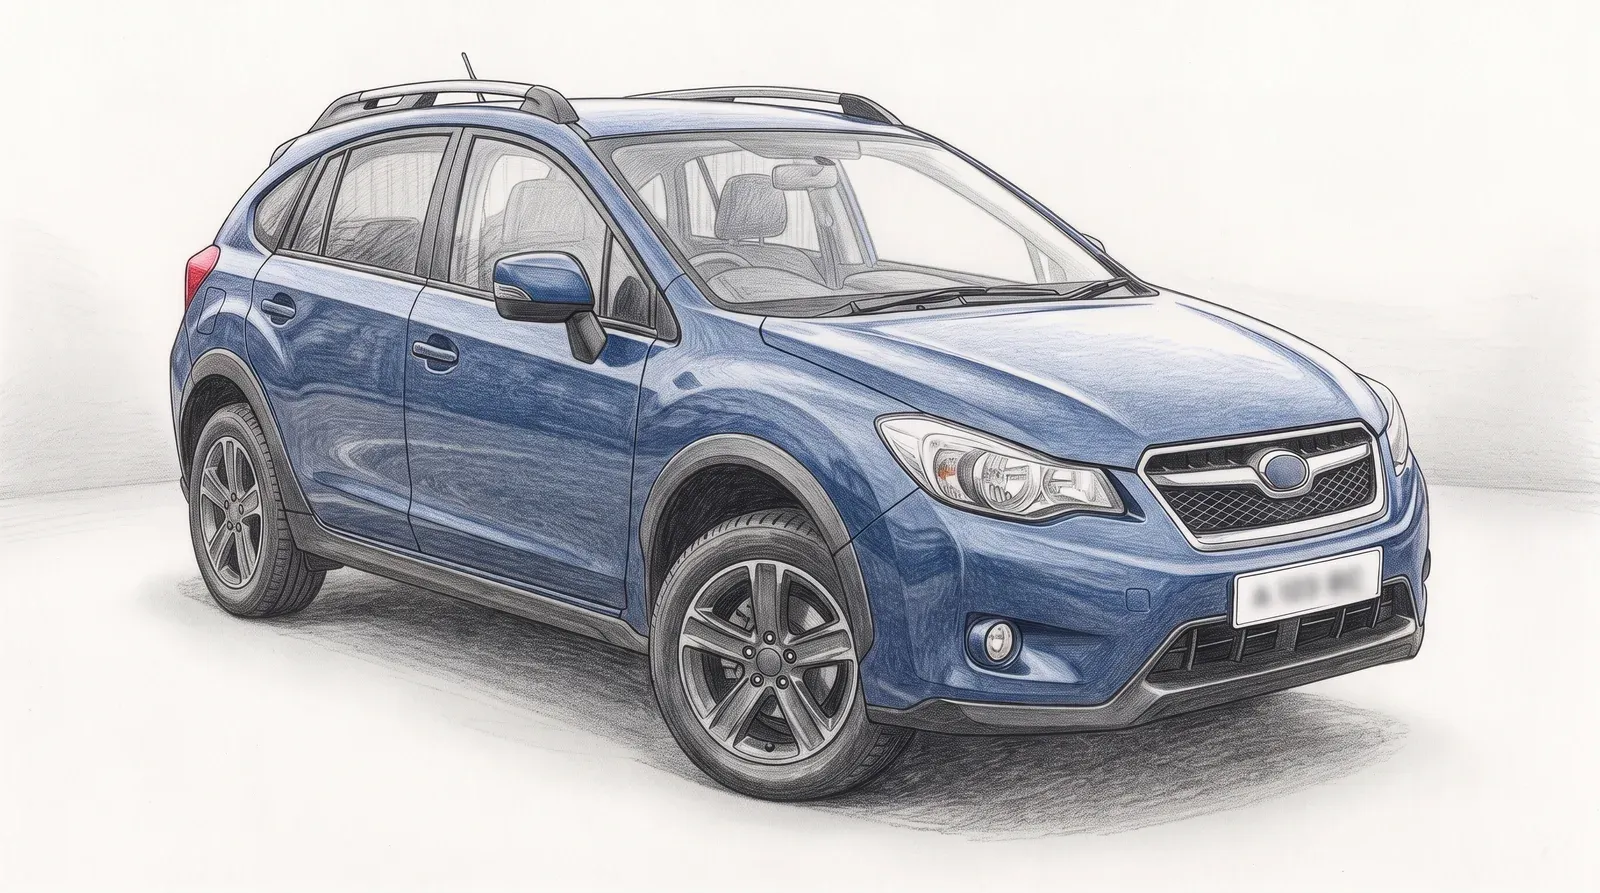
| Fixable afterwards | Only fixable when you shoot |
|---|---|
| The background. The lot, the fence, the trash cans, other cars and people behind the car all disappear when we swap the background. The new one can be a studio, a showroom, or your own branded scene. | Light and harsh shadows |
| The plate: hide it, blur it, or swap in the one you provide. | Dirt |
| Reflections in the paint: keep them as shot, or choose a full blend and they change to match the new background. | The angle |
| The view through the windows in interior shots. | The car's actual flaws |
| One look across every listing: each car on the same background as the rest. |
Which is why this guide starts with prep.
Listing sites differ on edited photos. Some explicitly allow a neutral virtual wall behind the car; others ban any editing at all. Check your site's rules before you publish.
More on this:Should you hide the license plate in car listing photos?Car listing photo requirements: what sites have in common
How many photos, and in what order
- 01thumbnailFront 3/4
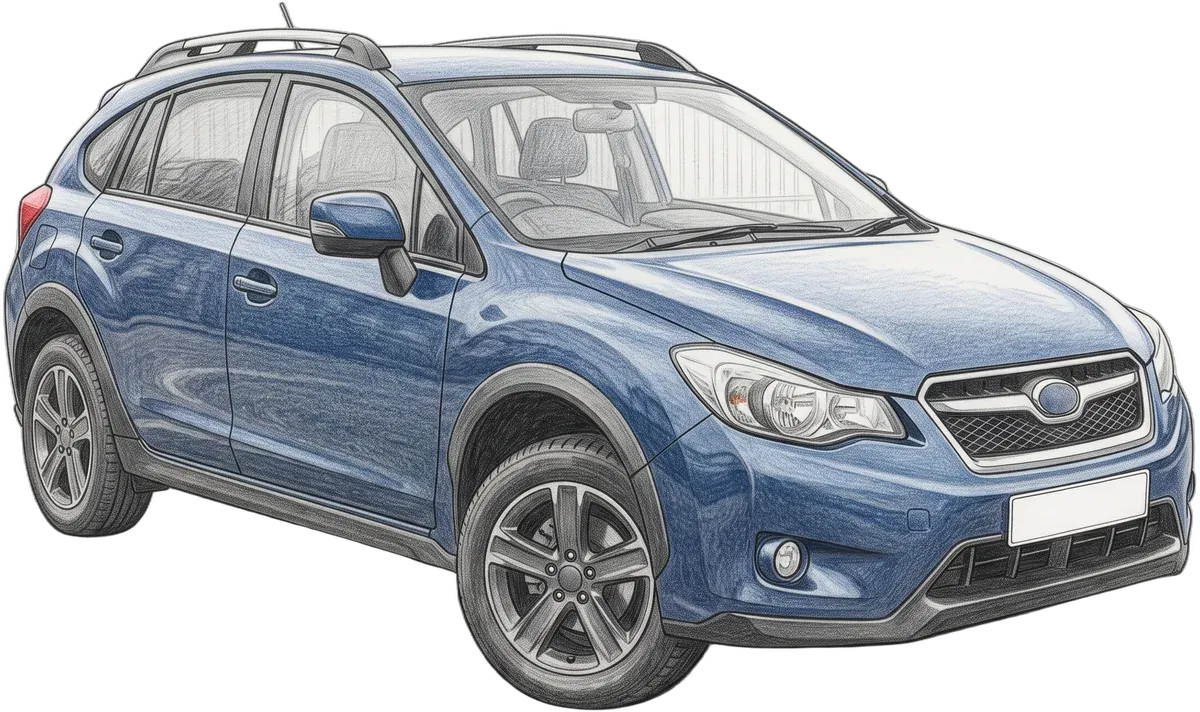
- 02Rear 3/4
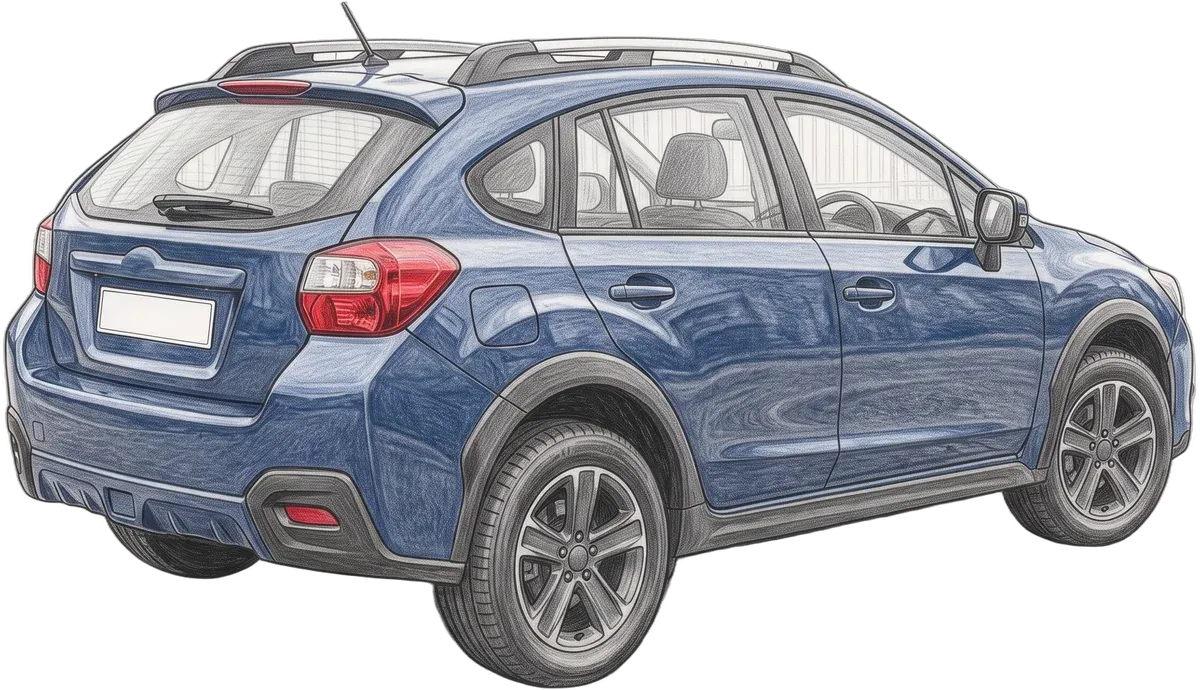
- 03Left profile
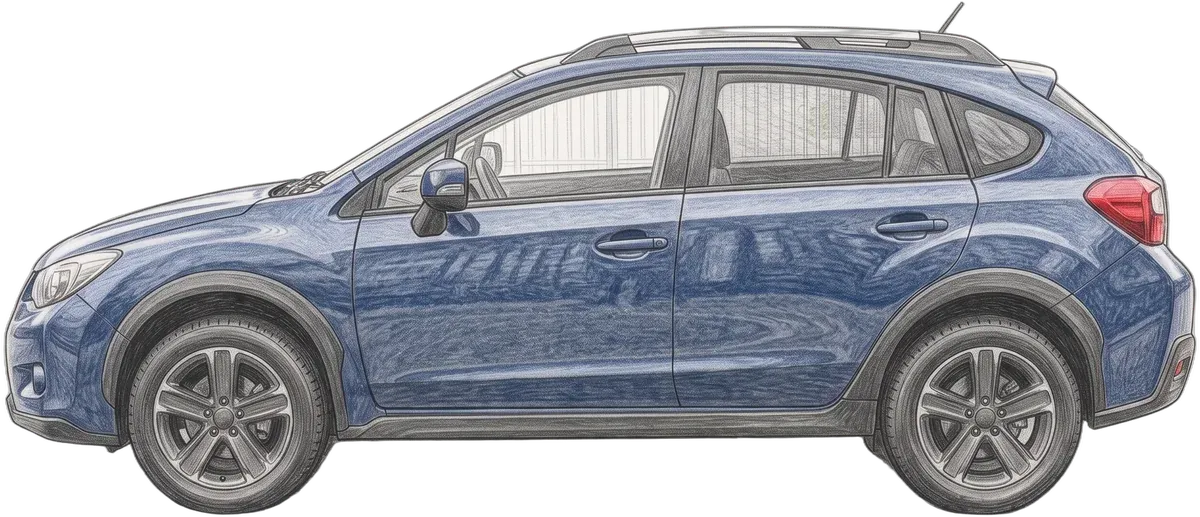
- 04Right profile
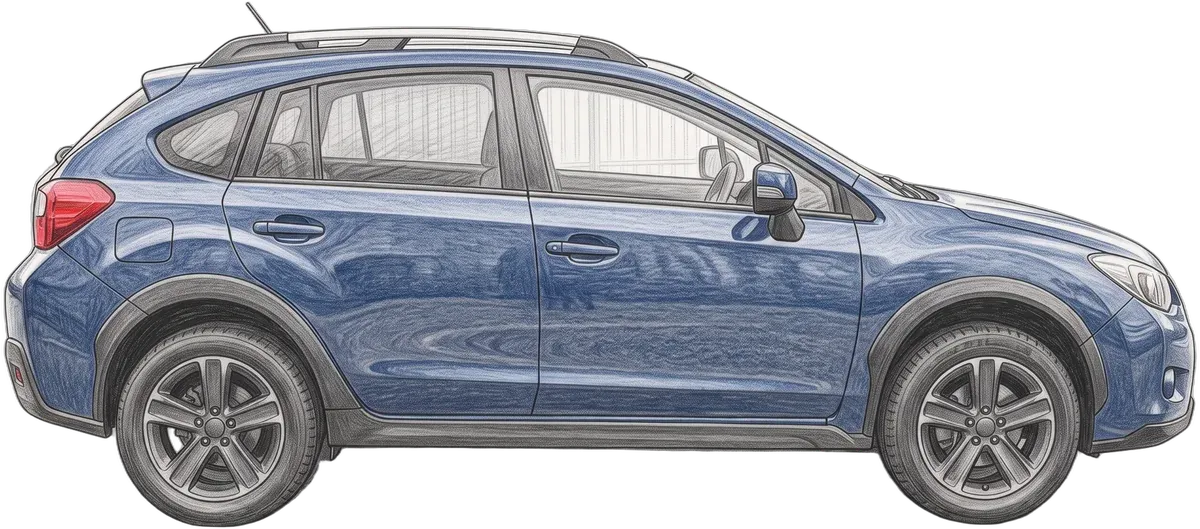
- 05Front
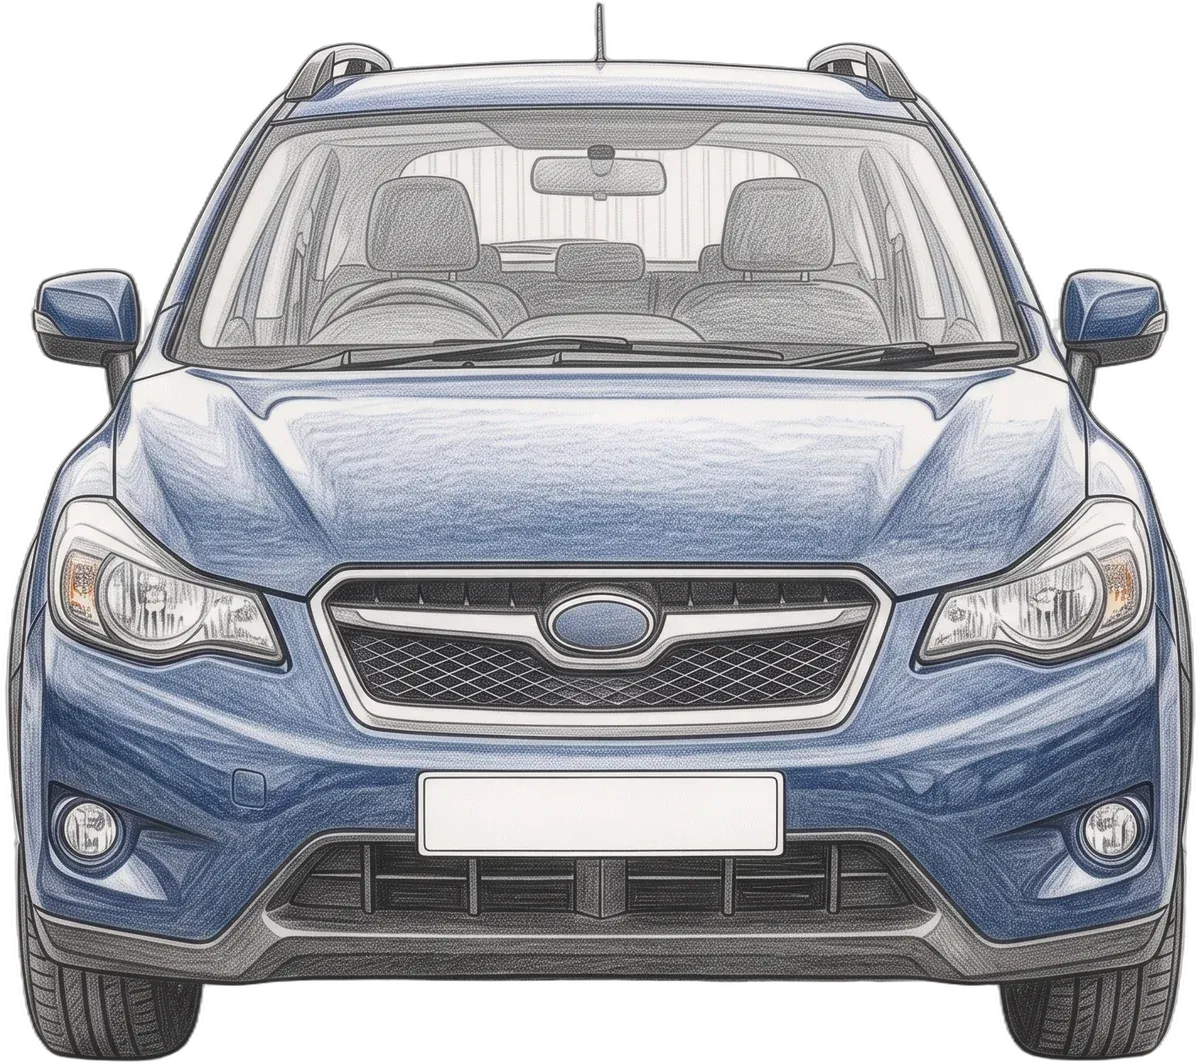
- 06Rear
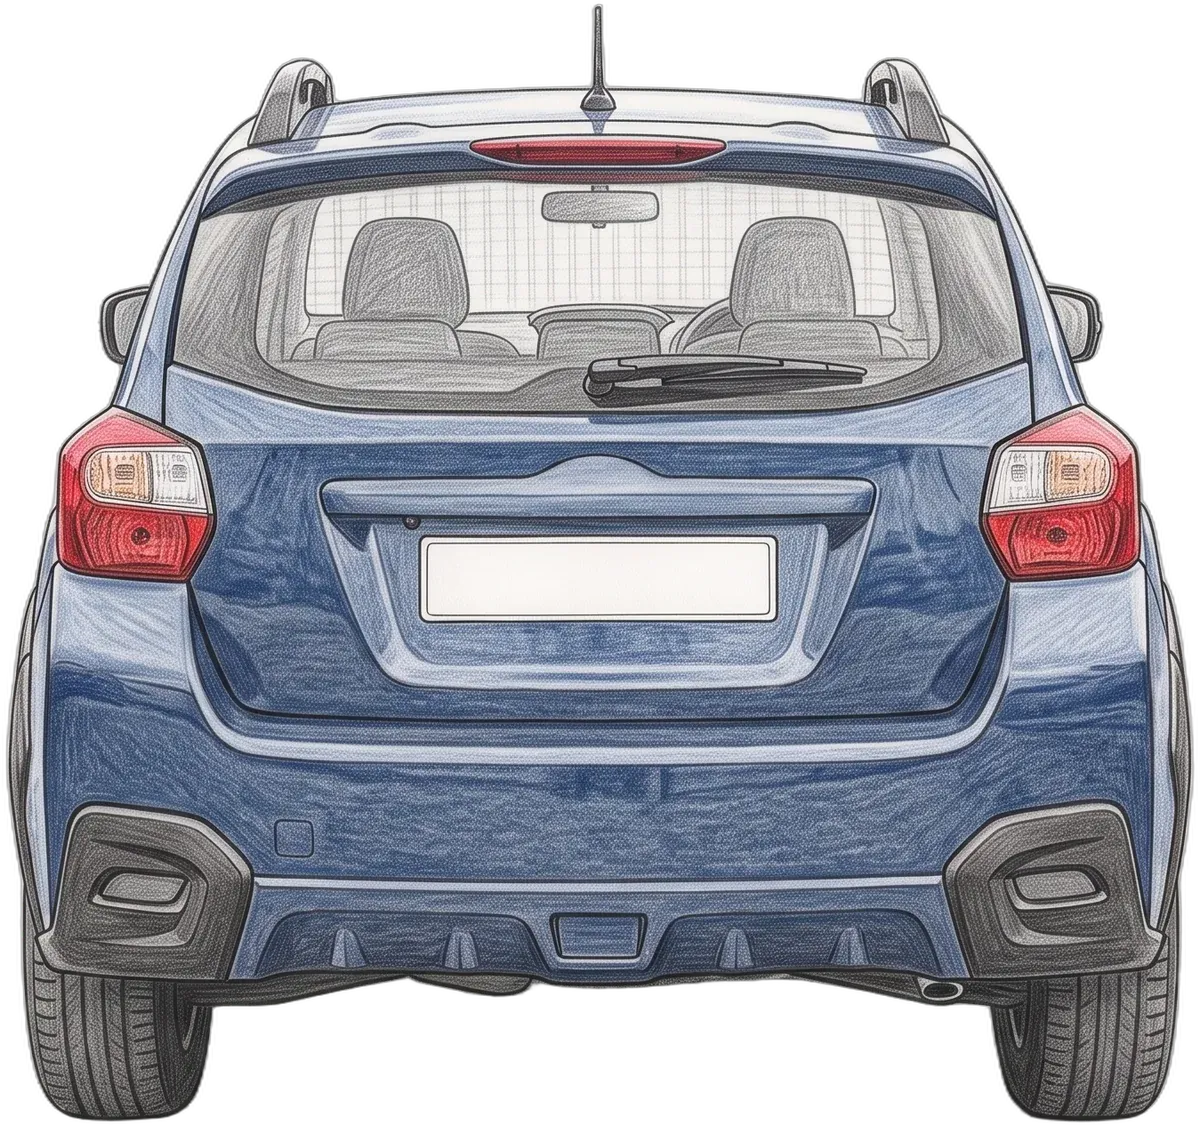
- 07Dash and mileage
- 08Front seats
- 09Back seats
- 10Wheel
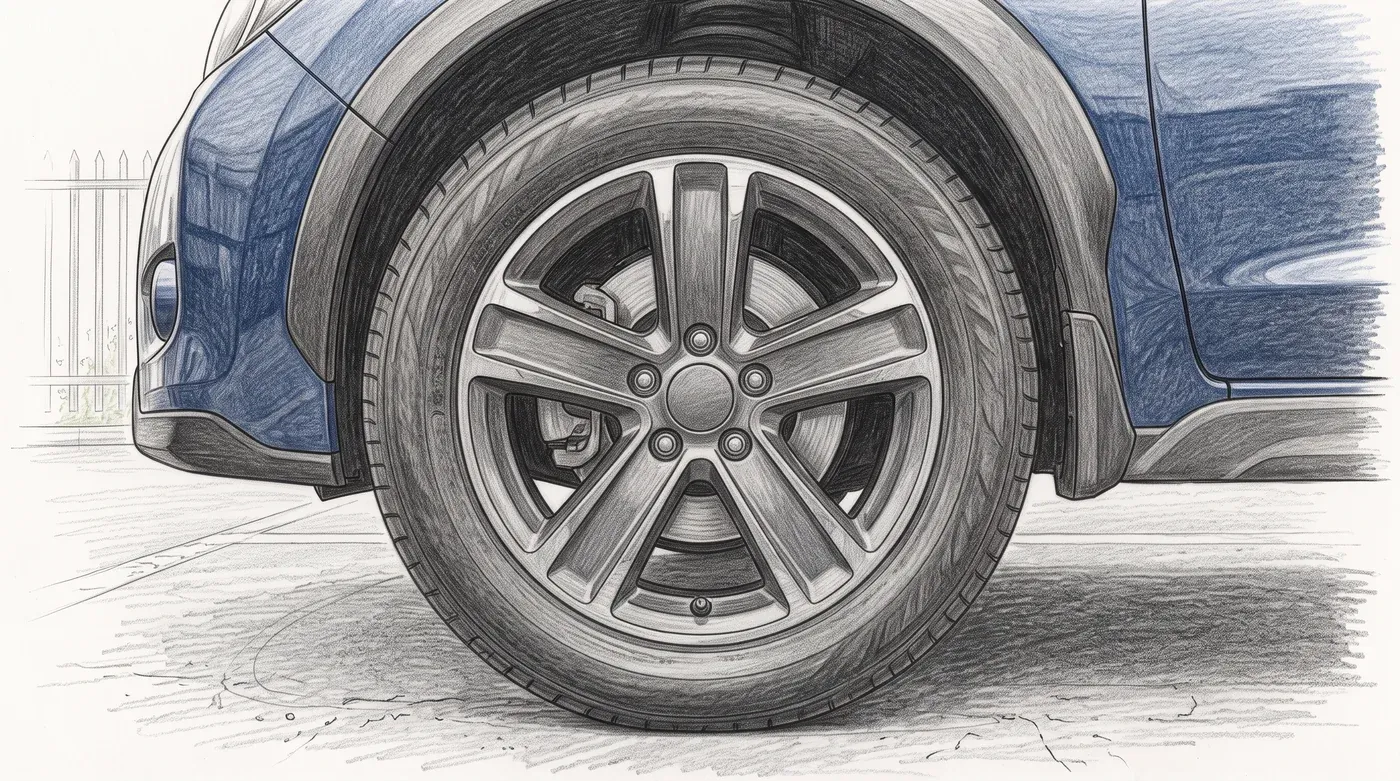
- 11Trunk
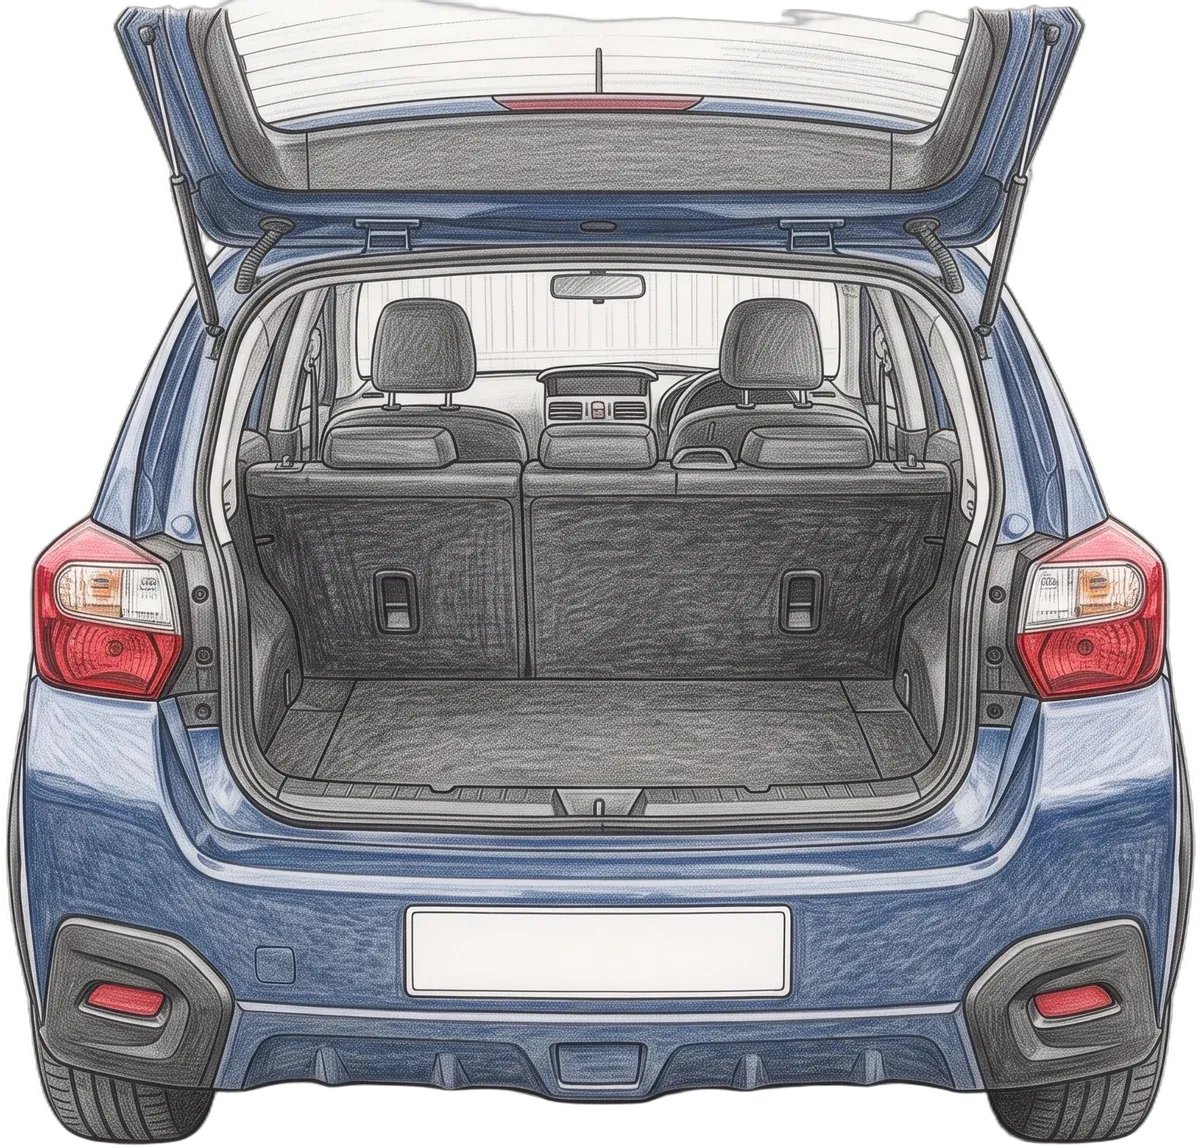
- ++ damage
Some listing sites weigh how complete your photos are and how good they look: since February 2026, one of Europe's largest car marketplaces gives photos 60% of its listing-quality score3. The list above comes to eleven photos, plus close-ups of any damage. Treat that as the minimum.
Put the front three-quarter first. It usually becomes the listing's thumbnail in search results. Then the rear three-quarter, the profiles, the straight front and rear, the interior, the wheel and the trunk. Damage close-ups go last.
Send us your photos. Your first 30 frames are free: a new background, the plate hidden or swapped, a new view through the windows. We don't redraw the car.
Used-car dealers: how it works across a whole lot